Beach Glass Mosaics
- Brittany Paynter

- Jul 12, 2024
- 2 min read
Disclosure: This post may contain affiliate links, meaning I get a commission if you decide to make a purchase through my links, at no cost to you.

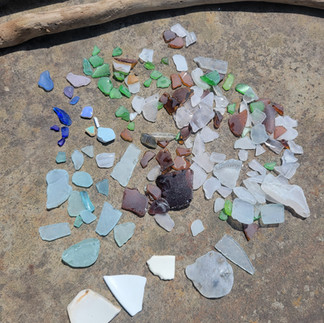
I'm constantly on the lookout for beach glass. Whenever I go to the lake or river, I end up with a mild backache from strolling along, bent over like a centenarian. What's fantastic about using found glass for mosaics is that smaller fragments work best, and having a variety of colors is ideal. Typically, beachcombers come across green, brown, and white glass, which are perfect for this particular project!

Organizing your collection by size and color is beneficial. Divide them into separate jars and place the ones you will be using on a paper plate or plastic tray.
Making a Mosaic
Here is what you will need:
Templates. This is helpful when you want a specific shape. You trace your template and just fill it in however you like!
Wood. These can be found driftwood pieces, wood panels, or cut rounds.
Glue. Weldbond is my favorite for this project. It's affordable, dries clear, and holds tight to glass and wood.
Beach Glass (sorry, no link, you've got to hunt for that yourself ;)
Rocks
Small sticks
Beads

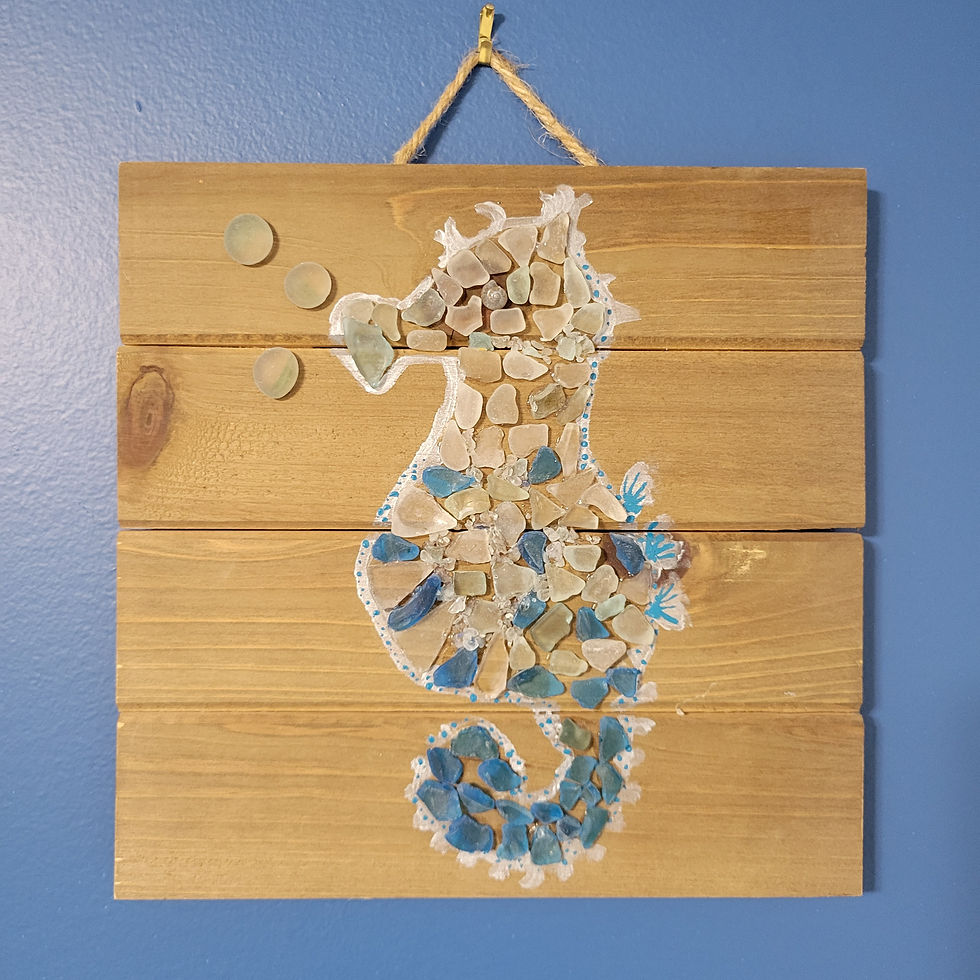
Find your inspiration and then go for it. Lay out your design without glue first, to get the right pieces for each spot. Then work from the top down, gluing them into place. It helps to use enough glue that it squeezes out a little around your glass piece. Always try to stick it down with the flattest size, so it has the most surface area to adhere to.
Here are some examples from last Spring's Art FUNdamentals class:
These three which I made are available to purchase from my online store:
If you make something, share it! I'd love to see what direction you took with this project.
Create on!
-Brittany


Comments